A couple of weeks ago we moved to a new home. For painting the seelings I removed the old smoke detectors. When I wanted to mount them back, I tested the old ones and 2 of them just didn’t work any more.
So time to get some new gadgets ?
I already have a Google Nest Learning Thermostat and a Google Nest Hello. I checked with a friend who has 2 of them in his house. He liked them, so why not.
After some online prize checking, I ordered 3 Nest Protect on 220Volts and 1 on batteries.
The 3 on 220V are the replacements for the old smoke detectors, the one on batteries will be mounted in the boiler room.
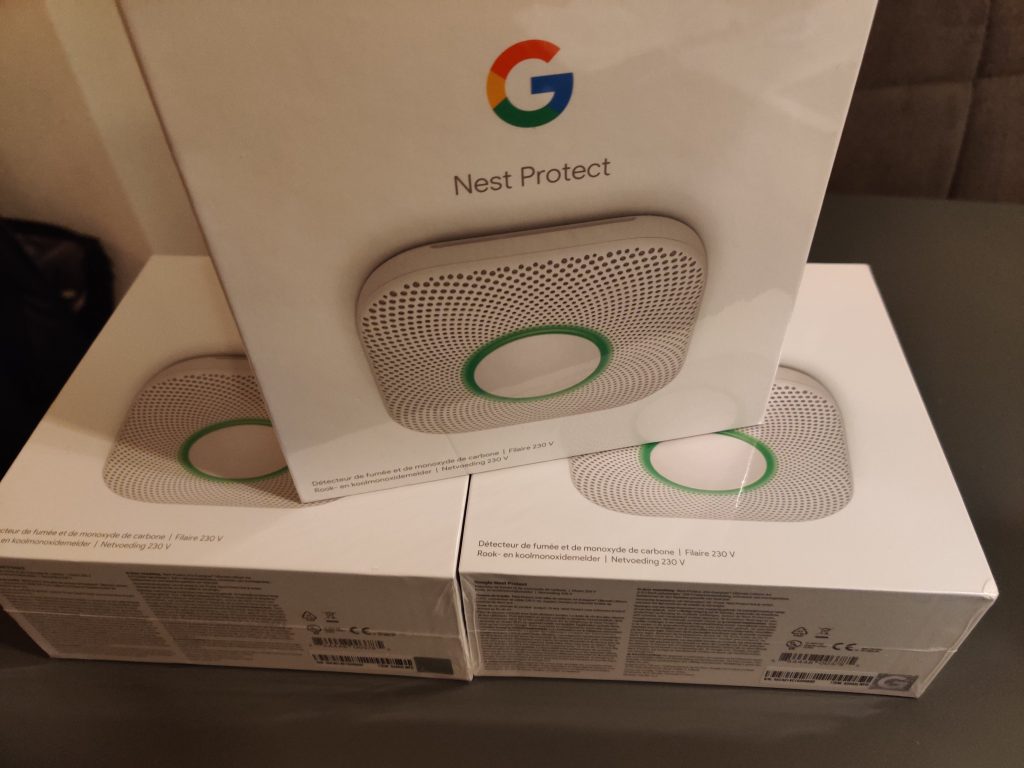
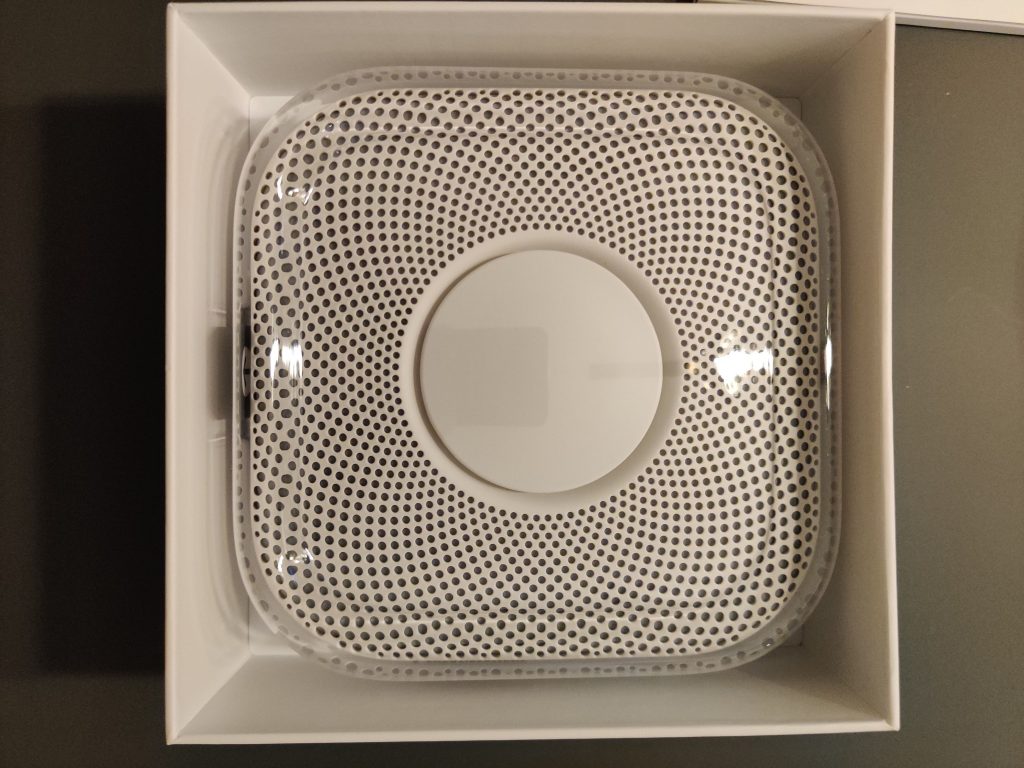
Unboxing the new smoke detectors..

Installing is really easy, you have to install the google Nest app. I have other Google Nest devices, so I have the app installed and I can just add a new device by clicking on the plus sign followed by Add Device (in dutch Product toevoegen)
One thing is important, make sure your phone is connected on a 2.4Ghz WiFi network.

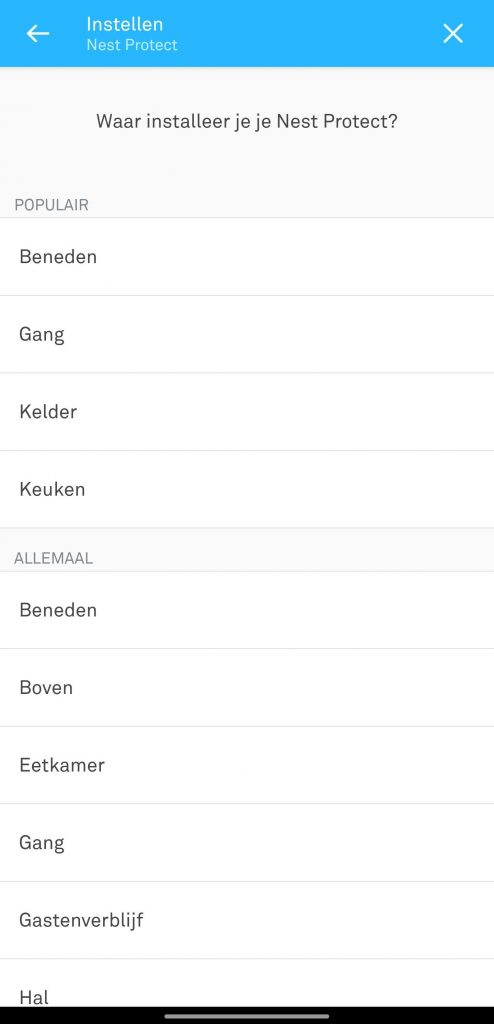
Aim your phone on the back of the smoke detector and scan the QR-Code. Choose a location where the device will be located.
Then pull the blue label and the smoke detector will begin to talk. When you hear the language you want to install, press the big button on the smoke detector. A self test will start.
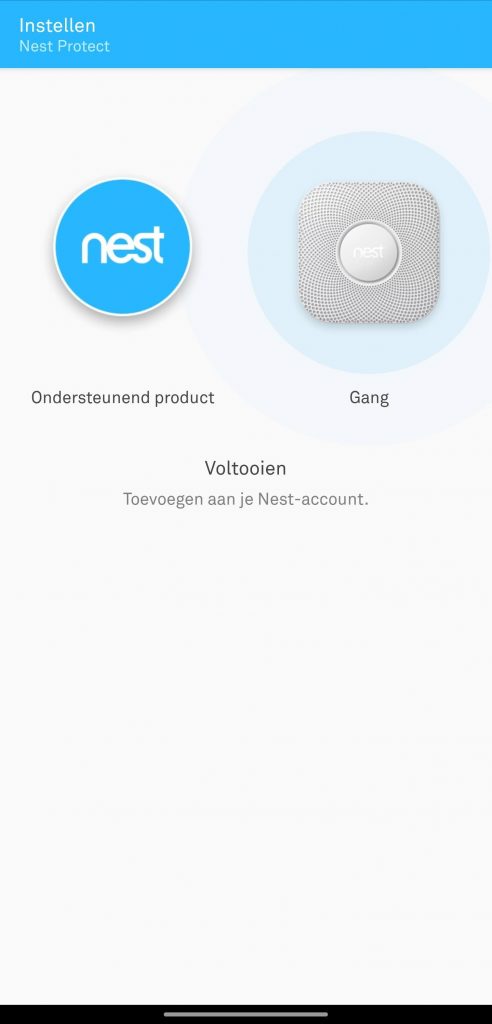
When all went well, the Nest Protect is now ready. Just set the time you want for a scheduled self test.
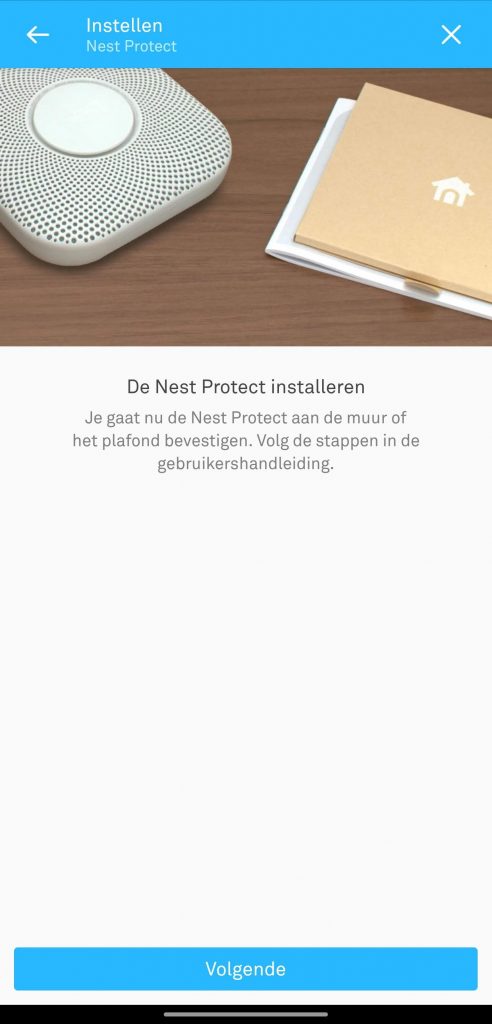
Mounting
Now the winning mood will disappear… Well at least in my house…
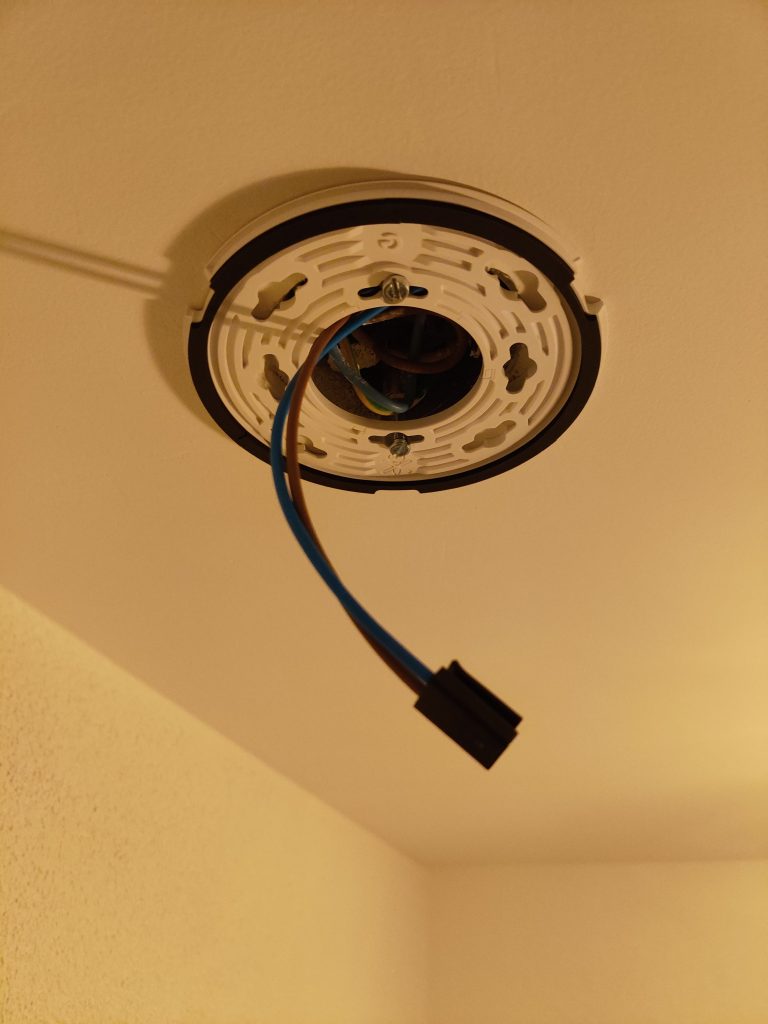
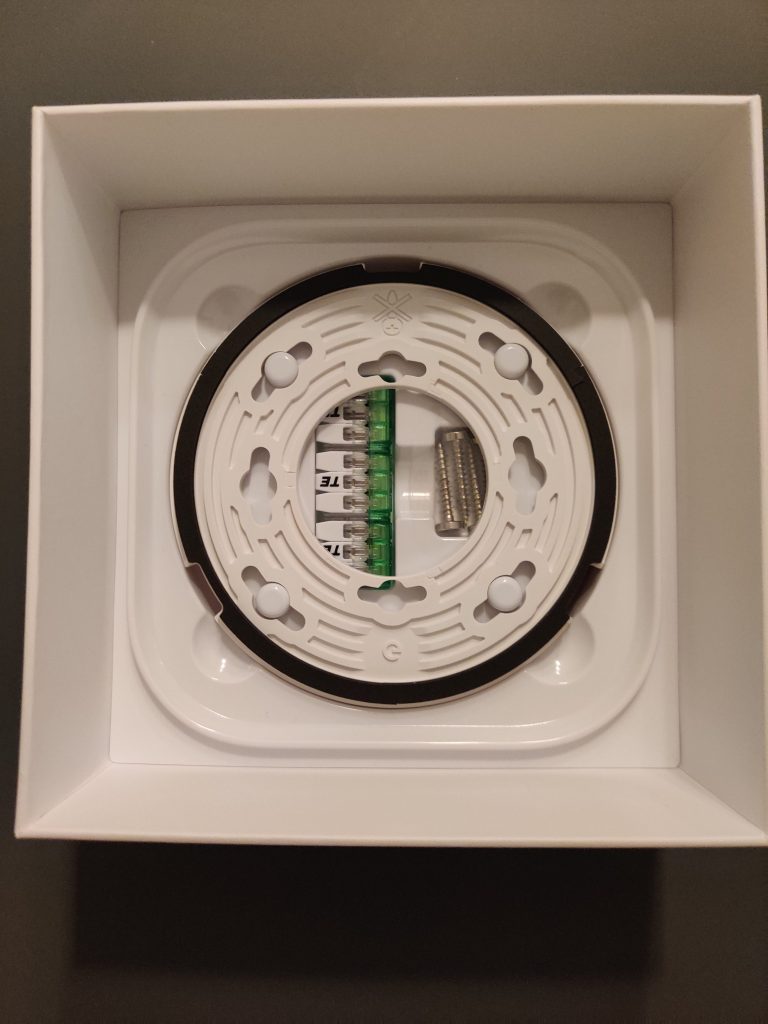
The ceiling was recently plastered, so the “normal” screws are to short. When I finally had everything in place. I found out I mounted the ring upside down.. ?
No problem!, Just remove the 2 screws, flip it and mount it again. Nope.. Now it just doesnt fit. The holes in the ring are slightly different than the size of the ring. Of course it is possible to drill 2 holes in the ceiling. But I didn’t want to drill in my new ceiling.
I filed the hole a bit bigger and with some wiggling it fits.

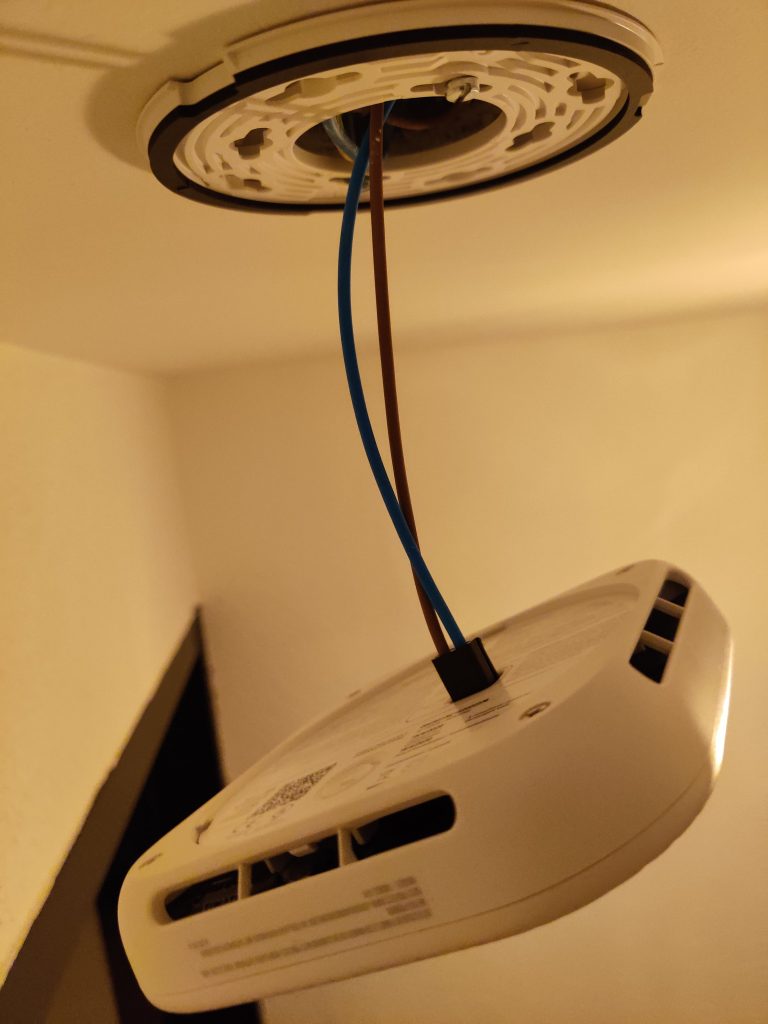
When you mount the ring the right way, you can mount the smoke detector with a twist movement.
On the 1st floor I could mount the ring with the screws in a wooden ceiling, so no worries there.
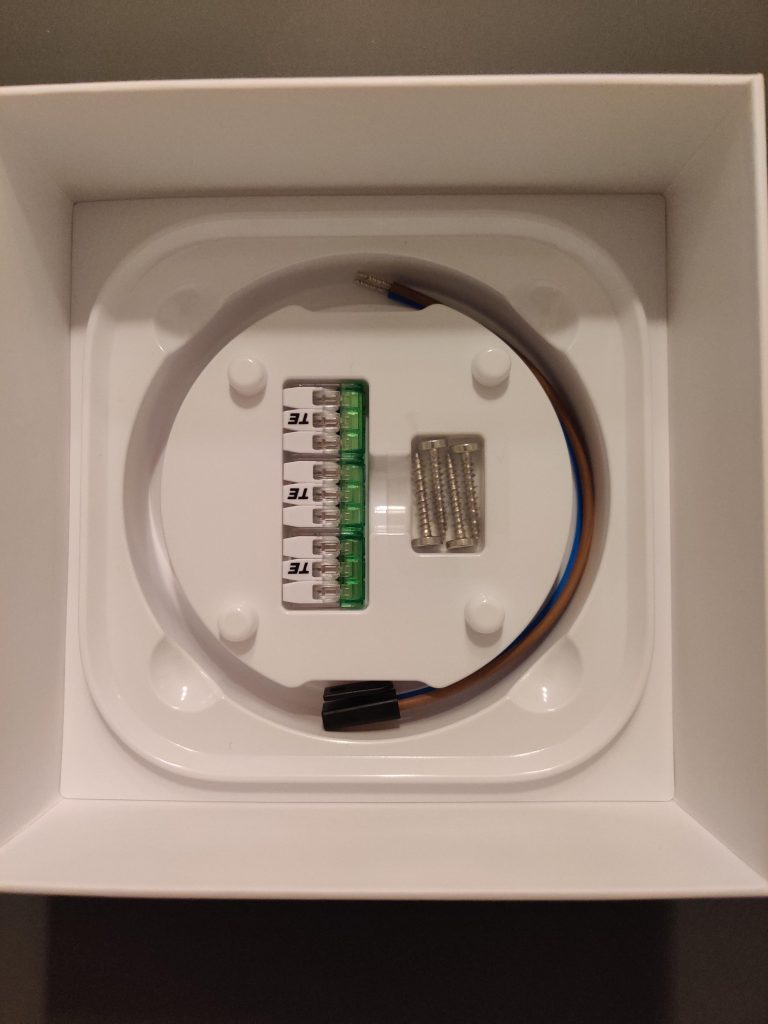
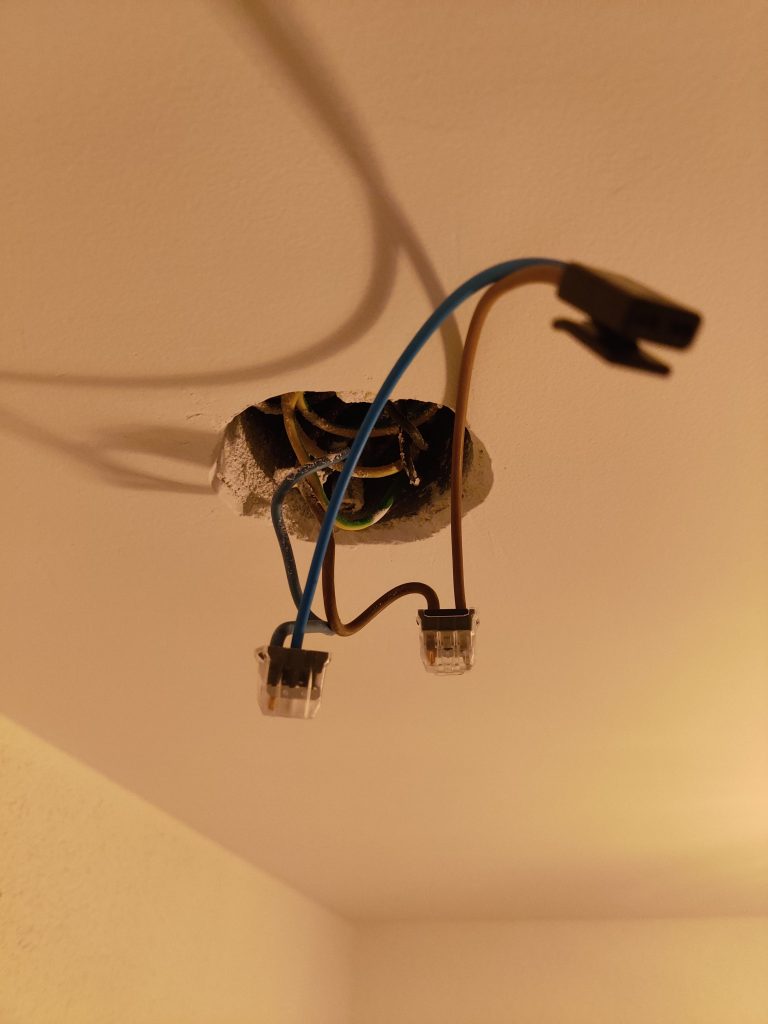
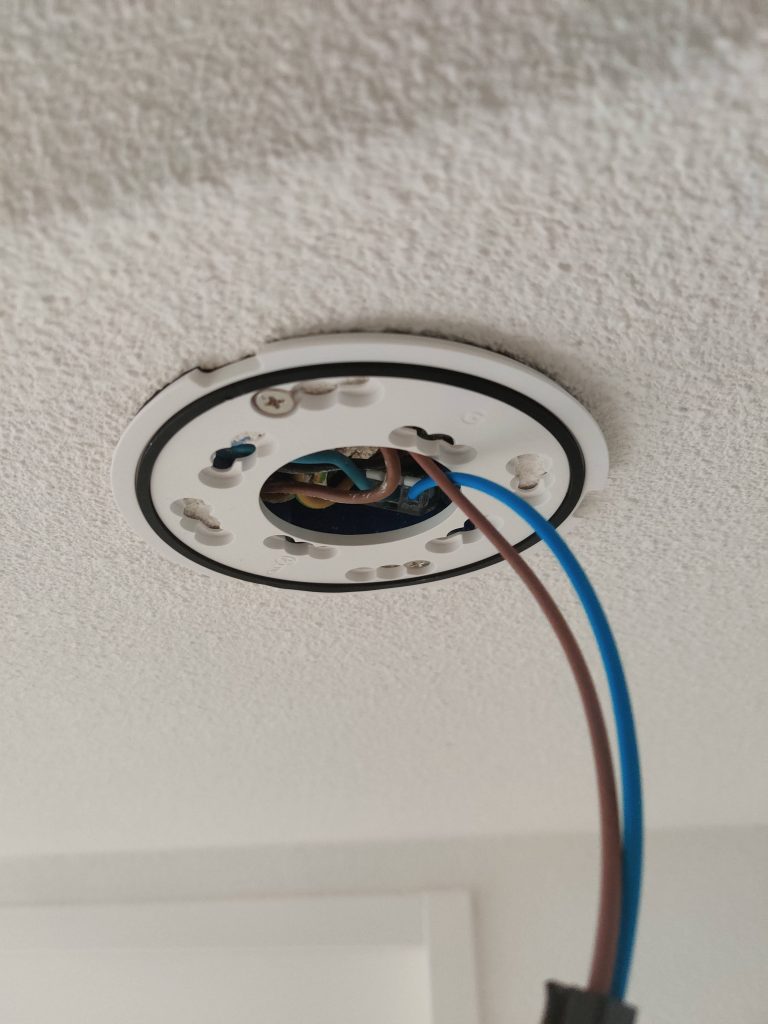
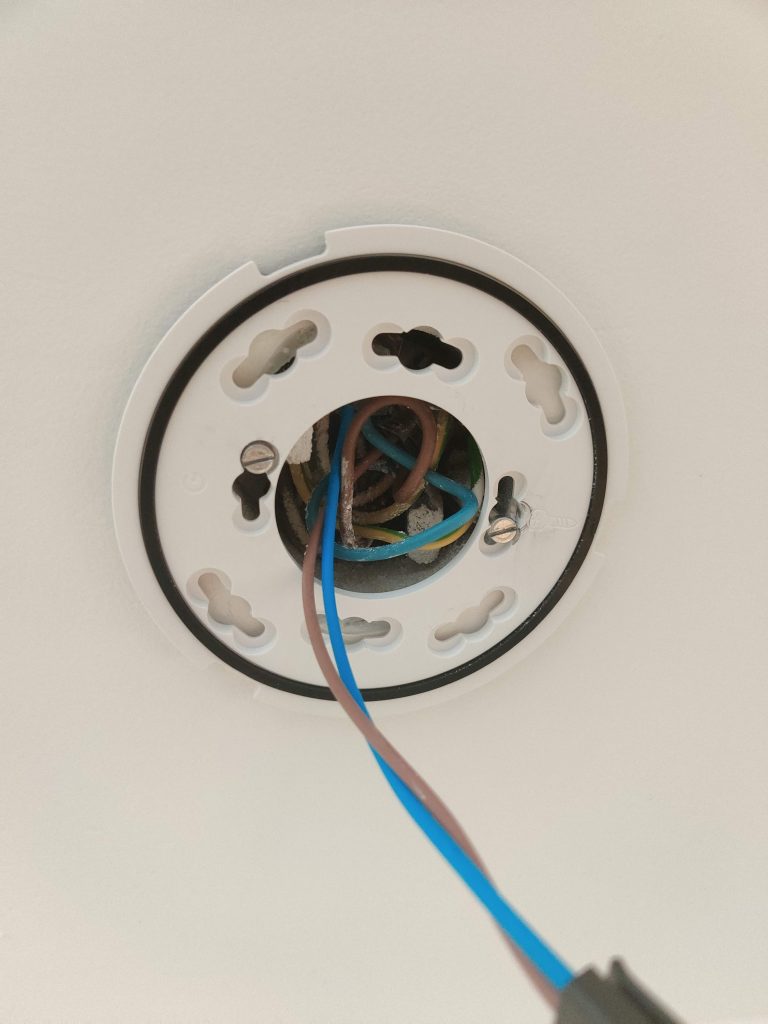
Then the 2nd floor, the power wires are coming from the side. There is no hole in the ceiling.
I checked online to find a special mounting thing.. but didn’t find anything. It probably would be better to mount a device on batteries, but I bought this one…

So after some more online shopping, I ordered a surface-mounted box
With the cables through a hole and the Google Nest Protect on top, it is ready!!
The battery version is really easy to mount, 2 screws in the ceiling and mount it. Very simple.